I feel like it’s taken forever to get to July, and we’ve had so much good weather already that I am excited about how much more summer we have left. However, the weekends for July and August are filling up so quickly that I’m afraid it’ll all pass by before I know it.
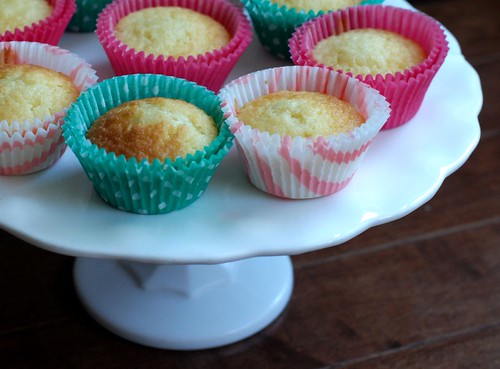
Starting from last weekend, we had the best visitors in town for the 4th of July long weekend, and I have much to post about that. This weekend has officially started with lots of errands, since we’re moving at the end of the month. But…we also have lots of fun things kicking off. Tomorrow’s our first rowing league practice, which I’m excited about, and also a little scared (remember, I don’t swim…at least, not well). I also did some prep work for something else happening tomorrow, and here’s a sneak peek!!

I was also feeling quite decadent today in my flurry of kitchen prep, that I made the ice cream cones covered in sprinkles. A coworker and I were lamenting that as little kids, our parents never really let us get the waffle cones with chocolate and sprinkles. So I made them. I have quite a few issues with things I wasn’t allowed to have as a kid, and that might also be the reason why my mom ended up with three Easy-Bake ovens to give away when my sister and I moved away.
To make these, it’s quite simple:
- Melt semi-sweet chocolate wafers in the microwave, and stir until smooth
- Brush onto inside of a store-bought waffle cone (sorry, I cheated) with a small heat-proof spatula. Chill in freezer as you continue with the other cones.
- Take out of freezer. Brush the outside rim with the chocolate, making sure not to put too thick of a coat on, and also not too deep (the sprinkles will add quite a bit of weight if you do too much chocolate).
- Dab in a shallow pan covered in sprinkles, until the edges are all covered.
- Chill again in freezer while you work on the others. Once you’re finished, give them a few more minutes in the freezer, then take out and wrap individually in parchment or wax paper. Store in a place where things won’t be squished.

Stay tuned for what all these fun things are for!!