on Wednesday 31 March 2010
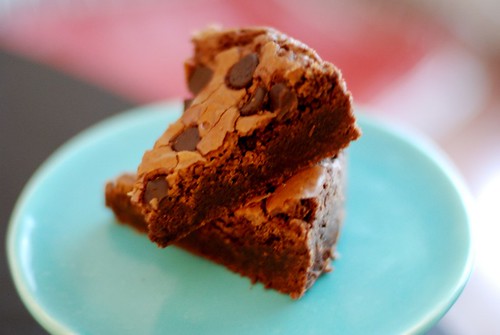
This is one of my favourite Barefoot Contessa Recipes, adapted to a personal pan size for those “emergency brownie days”. Emergency brownie days in my books are usually also accompanied by vodka, if it happens to be available in the fridge. That’s how I concluded brownies were probably, most likely, created by stressed out women everywhere. Women who have been pushed to decide that just chocolate simply wouldn’t do; chocolate and butter and sugar together would be soooooo much better.
Extremely Chocolate-y Brownies
adapted from the Barefoot Contessa Cookbook
Ingredients
- 2.5 oz. unsalted butter, melted
- 3.5 oz. semi-sweet/bitter-sweet chocolate chips, melted
- 1 large egg
- 1/2 tbsp. instant coffee granules
- 1 tsp. vanilla extract
- 1/4 cup + 1 tbsp. sugar
- 1/4 cup + 1 tbsp. flour
- 1/2 tsp baking powder
- a small pinch of salt
Directions
- Preheat the oven to 350 degrees Celsius. Line a small brownie pan, 6″ cake pan, or loaf pan with butter and flour, and put parchment paper on the bottom – since this is a “personal pan” brownie recipe, you don’t need a regular brownie pan.
- Combine butter, chocolate, egg, instant coffee, and vanilla together in a bowl. Whisk together until mixed well.
- Add in the dry ingredients, and whisk until everything is incorporated.
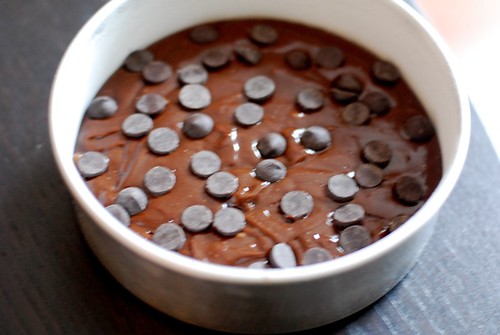
- At this point, you can chop in nuts or extra chocolate chips. If you do, toss them together with a tbsp. of flour first so they don’t all sink in the batter.
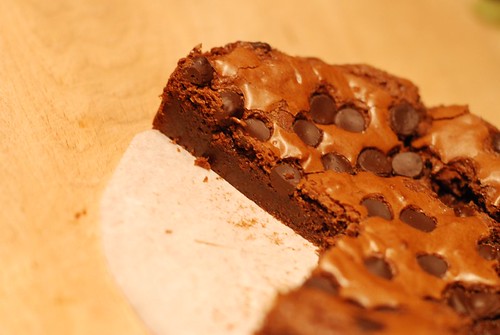
- Pour batter into pan and bake until the top starts to crack and a tester comes out clean.
- Forget about cooling. Grab a spoon and dig in. Have vodka ready if necessary and available.
{ }

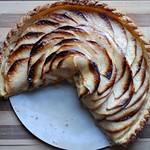
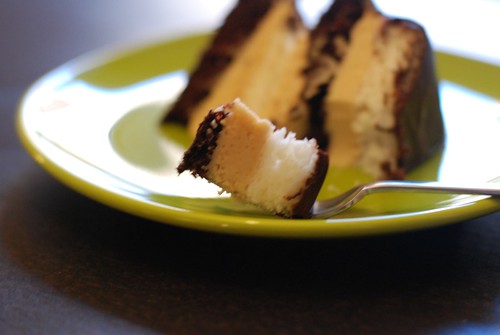
After reading Alexis Stewart’s post on making this Heaven and Hell Cake from Saveur.com, I wanted to give it a whirl, too. Since then, I’ve whirled at least three times to get it right. Today, I can finally share something.
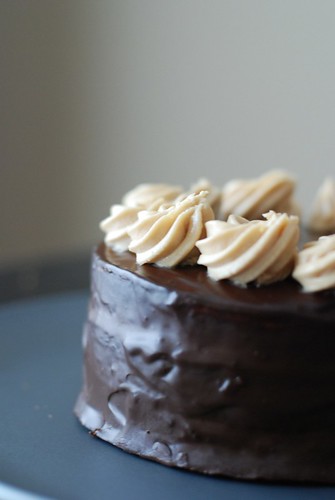
The reason why it’s called Heaven and Hell Cake is because the cake layers are alternating Angel Food Cake and Devil’s Food Cake. The filling is a light peanut butter mousse, and the whole thing is finished off with chocolate ganache. First of all, whatever you do, do not follow the Saveur.com recipe blindly, especially on the peanut butter mousse. I learned the hard way that my KichenAid isn’t even big enough to handle all the ingredients.
Anyway, long story short, I re-made it and re-made it again. I got the peanut butter mousse after toying with some recipes I found online, and finally got the Angel Food Cake, too, thanks to a handy-dandy book of mine.
The recipe yields enough for a 6″ cake, and the whole process will take a lot of work because of the different layers that go into the final product…this isn’t meant to be an everyday cake, but a fancy once-in-a-while thing.
Ingredients
Angel Food Cake
- 3 oz. egg whites (I buy cartons of egg whites rather than ending up with a bunch of yolks)
- 1/4 tsp. cream of tartar
- 1/4 tsp. salt
- 3 oz. sugar, divided into 2 equal portions
- 1 oz. cake and pastry flour
Devil Food Cake
- 5 oz. all-purpose flour
- 1/2 tsp. baking powder
- 1/2 tsp. baking soda
- 1/4 tsp. salt
- 2 oz. softened unsalted butter
- 4.5 oz. brown sugar
- 1 large egg
- 3 oz. melted unsweetened choclate
- 2/3 cups milk
- 1/2 tsp. vanilla extract
Peanut Butter Mousse
- 1/2 cup whipping cream, whipped
- 2 oz. (1/4 package) cream cheese
- 2.25 oz. icing sugar
- a pinch of salt
- 1/4 cup + 2 tbsp smooth peanut butter
Directions
- For the Angel Food Cake, set the oven to 350 degrees Celsius. Line the cake pan with parchment paper everywhere – the edges and the bottom. Angel Food Cake tends to do better with parchment than the regular old butter-and-flour set-up. Sift the flour and 3 oz. of the sugar together. Set aside. Whip the egg whites in an electric mixer on medium speed with a wire whisk, until bubbly. Add in the salt and cream of tartar, and continue whipping on medium speed until the volume starts to double and the mixture is turning white. Drizzle in 3 oz. of the sugar and continue whipping until very soft peaks begin to form. The worst thing to do with Angel Food Cake is to over-mix the egg whites, which in turn makes the cake non-airy. Add in sifted flour and sugar and fold gently into the almost-meringue mixture. Pour into the ready pan, and put into the oven right away. Bake for about 30 minutes just until the top is nice and golden, and a tester comes out clean. Remove from oven, chill on a rack in the pan until it settles, and then cool on the rack upside down for at least an hour before removing.
- For the Devil’s Food Cake, butter and flour the pan, and line the bottom with parchment. Sift the dry ingredients together in a bowl. Cream the butter in an electric mixer with a paddle attachment, then add in the brown sugar and beat on medium until lighter in colour. Add in egg and mix on medium for three minutes until the mixture is light and fluffy. Beat in melted chocolate. Then alternately mix in dry ingredients and milk + vanilla until it’s all incorporated. Pour into the pan and pop in the oven for about 40 minutes. Remove from pan when it’s set and just starting to pull away from the edges, and cool in pan for a few minutes before removing and cooling on the rack.
- For the peanut butter mouse, whip the whipping cream until stiff peaks form. Put in refrigerator. Cream the cream cheese in a electric mixer with the paddle attachment until smooth. Add in icing sugar and salt and cream together until smooth. Add in peanut butter and mix until smooth (will feel slightly dry and lumpy, just keep going at a lower speed). Fold in the whipped cream by hand until well mixed, and put back on the mixer and whip at medium-low speed for another 30 seconds. Yum!

Assembly
- Slice the cake layers in half, so that you have 4 cake layers in total. Start with a Devil’s Food Cake, top with a layer of peanut butter mousse, then a layer of Angel Food Cake, and then another peanut butter mousse layer. You should finish at the last layer of Angel Food Cake. Don’t add peanut butter mousse on top, but finish off the edges with any leftover mousse – “masking the cake”, if you will – so that the edges are even and smooth. Put in the fridge while you do the chocolate ganache.
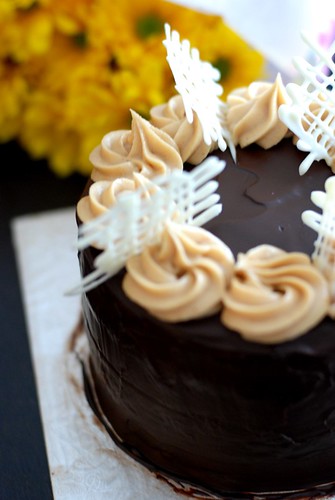
- Melt 8 oz. chocolate chips and 1/4 cup whipping cream, and pour over the top of the cake when it’s cooled off a bit but is still liquid.
- Use any leftover peanut butter mousse to pipe fancy decorations on top of the cake if you have any desire to continue with the cake at this point. Voila!
{ }
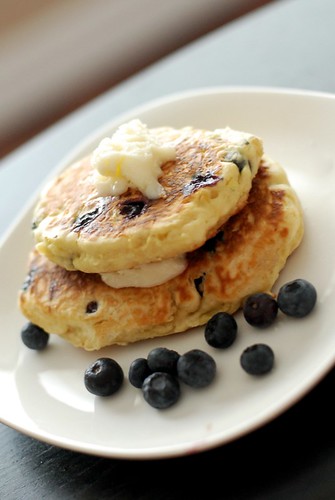
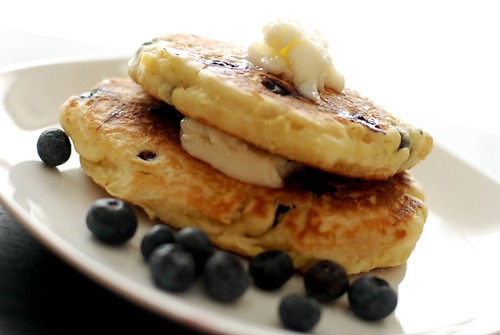
I never used to like pancakes, and was always more of a waffle person. However, these days whenever I decide to eat healthy and cut out refined carbs, I always get this weird craving for pancakes – yummy, dense, carby goodness for breakfast. After making these pancakes, I also think I might’ve just had bad luck with crappy pancakes before (McDonalds, boxed mixes, etc.) and the real homemade stuff actually isn’t bad at all!
One thing that made me love my pancakes even more was that, as you might have noticed, I didn’t put syrup on these pancakes. Those giant chunks of white on the pancake stack are not butter, either. Welcome to a world of pancakes with leftover cream cheese icing, my friends. Try it – and celebrate the fact that you’ve just been able to use up your leftover cupcake icing, like me.
Blueberry Lemon Pancakes
Original recipe from Joy the Baker. Edits made in April 2020 in weight measures.
You will need
- 30g melted butter / 27g neutral flavoured cooking oil
- 1 egg
- 1 cup (227g) buttermilk
- 1 cup (not sure this is 1 cup but 160g recommended) flour
- 1 tablespoon (15g) sugar
- 1/2 lemon, zested
- 1 teaspoon baking powder
- 1/2 teaspoon baking soda
- 1/2 teaspoon salt
- 1 cup blueberries, frozen or fresh*
*I used frozen, but I had frozen mine on a tray last summer, so the berries were nicely separated and there were no large chunks stuck together with ice. If you have store-bought berries, you may want to thaw and drain first before using.
How to make ’em
- In a bowl, whisk together butter, egg, and buttermilk
- Stir in dry ingredients and lemon zest quickly with the whisk or a fork. The mixture will be slightly chunky, but don’t overmix to get it to be super-smooth!
- Throw in berries to the mixture just until it’s evenly distributed in the mixture
- Heat a non-stick pan (I am paranoid about using Teflon pans but pancakes are one of the few exceptions that require it to make the breakfast process less stressful!) and spray with cooking spray
- Drop the batter in dollops and flatten slightly with a Teflon-friendly spatula. Flip when small bubbles begin to form at the edges of the pancake. These cook relatively quickly! Serve with a smear of cream cheese icing :-)
Happy Sunday!
{ }