For this Cookie of the Fortnight, I thought I’d share my favourite cookies for all occasions – the decorated sugar cookie. It’s also convenient that I had to make them for a shower this weekend, so it worked out well for timing.

To begin, I made wedding cake shaped cookies from this simple recipe:
Ingredients
3/4 pound unsalted butter, melted*
1 cup granulated sugar
1 tsp. pure vanilla extract
3 1/4 – 3 1/2 cups of flour**
1/4 tsp. salt
*I melt the butter because the mixture tends to be easier to handle when you can’t possibly have lumps of butter. Room temperature should be fine too.
**The original recipe said 3 1/2 cups, but sometimes it just got to be too dry (esp. in winter) that I stop at 3 cups and slowly add the last 1/2 cup as needed.
1. Preheat oven to 350 degrees
2. In an electric mixer with paddle attachment, mix together the butter, vanilla and sugar on medium-low speed until they are well combined.
3. Sift the flour and salt together, then slowly add to the butter mixture on low speed until the dough starts to form.
4. Dust your work surface with flour and gather the dough onto it. Work into a flat disk and wrap in plastic. Chill in fridge for about 20 minutes.
5. Roll out dough to about 1/2 inch thickness on your work surface (dusted generously with flour, remember), and cut out the shapes you need. Remove gently with a small offset spatula onto a cookie sheet.
6. Bake for about 15-20 minutes, or just until the edges are golden.
7. Remove from oven and let sit on sheet for about two minutes before removing to a cooling rack to cool completely.
8. Repeat process, but make sure you wipe down the sheet and let it cool (just until you’re able to touch the sheet without screaming) before you place more dough on there.
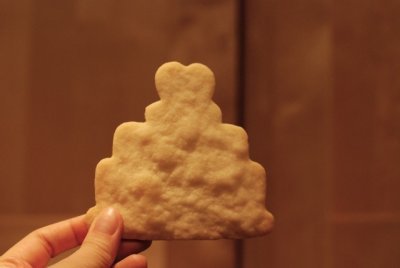
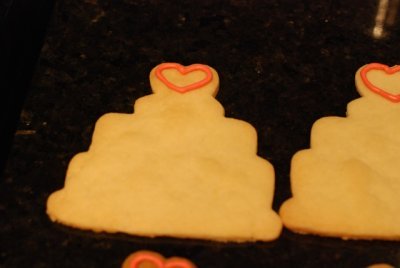
The wedding-cake cookie, my tabula rasa
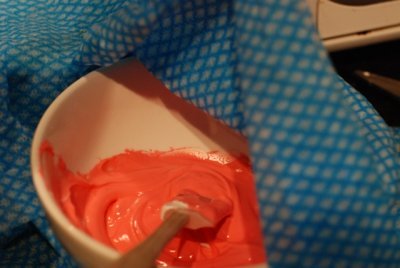
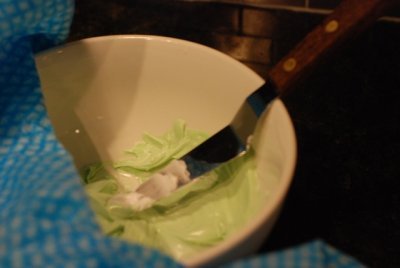
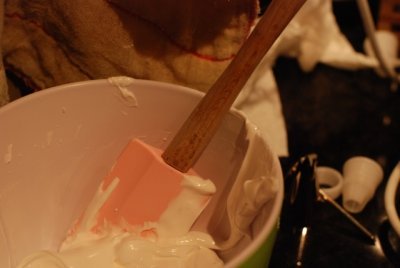
This project also stars various icing colours in different consistencies
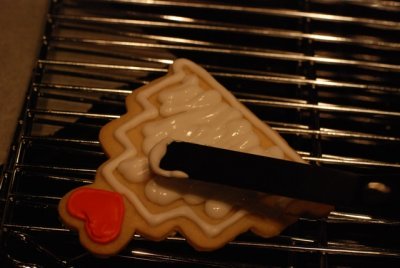
You want the icing in different consistencies – the ones to cover the whole cookie (“flood” the cookie) should be really runny that it’s easy to spread. You’ll see that I made the mistake with the dark pink hearts because the icing wasn’t runny enough, so the covered hearts are a bit lumpy.
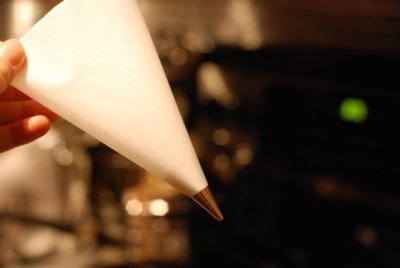
Paper cones are evil to roll but very convenient when using lots of colours
You want to draw outlines before you fill in the colours
so the solid colours don’t runneth over
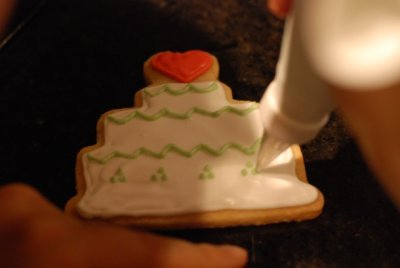
Then you just squeeze lots of icing into the middle and start spreading
P.S. This photo was extremely difficult to take
The icing you use for detailing should be much thicker
so that the details hold up a lot better
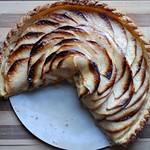
The final product
Comment on the cookie recipe – it is hard to work with because it is dry, so you have to roll slowly to avoid flaking. It is a yummy cookie that is a cross between a shortbread and sugar cookie. My favourite thing about them is the simplicity of the ingredients – way better than any cookie mix scary stuff!!
For the next Cookie of the Fortnight, it’ll coincide with Alex’s birthday, so I’m trying to find something interestingly British…suggestions?


Oh my goodness… that is beautiful and so annoyingly perfect!
P.S. Can you share your icing recipes?
have seen these a lot recently – what a brilliant idea.