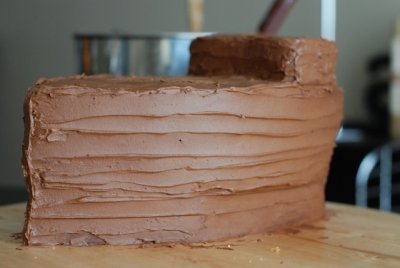
This is part 2 of the Pirate Cake saga, particularly, how it ended with a delicious chocolate icing.
I got the chocolate icing recipe by chance from a foodie site forum (I think it might’ve been either Chocolate & Zucchini, Smitten Kitchen, or The Pioneer Woman, in case people want credit I really can’t remember more than that). However, upon close inspection of the source, I realized quickly it was a recipe a friend of mine here in Toronto uses but has kept secret other than drunkenly telling me one day who she got the recipe from. I won’t name any names, but I was mighty glad to have found the recipe then because I had already tasted it and loved it!
You will need
175g melted dark/unsweetened chocolate
250g unsalted butter, at room temperature
275g sifted icing sugar
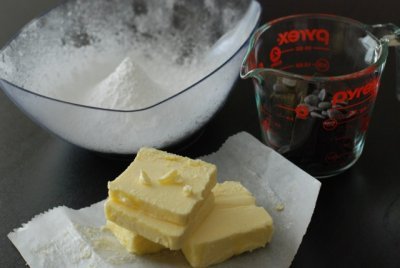
Icing sugar for illustrative purposes. 275g is a lot more than that.
Instructions
1. Melt the chocolate over a double boiler (especially important if you use higher quality chocolate) or a microwave. If using microwave, never microwave it for more than 45 seconds because burning chocolate smells disgusting and lingers for a while. I used Callebaut this time, but typically I like using Lindt dark couvertures because Lindt chocolate has that special creamy taste that no other chocolate has. I love chocolate.
2. In an electric mixer with a whisk attachment, whisk the butter on medium-low speed until it is super creamy, scraping the bowl once or twice.
3. Add in sifted icing sugar. I actually just throw the bowl on the scale and sift in sugar directly to avoid the messes created with icing sugar in multiple containers. It’s a personal preference, but I find it easier to clean up later.
4. Drape a cloth or something over your mixer and whisk on medium-low to low speed until the sugar is mostly incorporated, then whisk on medium speed until fluffy.
5. Drizzle in melted chocolate and whisk, scraping the bowl and mixture a few times, until everything is nicely incorporated. You now have a delicious chocolate icing.
For the pirate ship…
I iced the boat shapes that I had cut out.
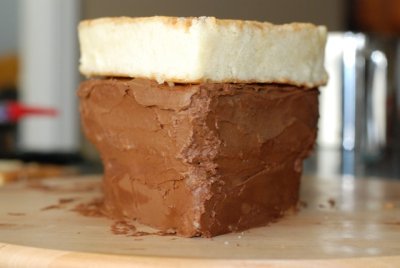
The icing method used here is wrong – I didn’t stack and then ice, because I was a little concerned that I might not have enough icing. Don’t do this. Or, if you do, you didn’t learn it from me.
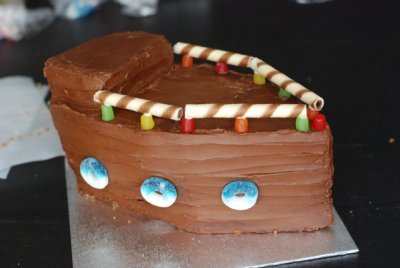
Added candies and cookies to help with the look.
My goal was that everything on the ship was edible and delicious
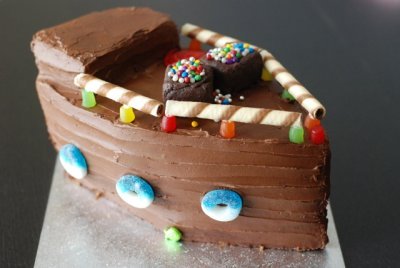
I even gave it two treasure chests brimming with “treasures”
The chests were shaped from mushed-up brownies
Then, I made three flag-shaped cookies, and threaded baker’s twine through them prior to baking. I left quite a bit of twine on both sides. The cookies were actually the gingersnaps, but you could also use sugar cookies or any other flat shape-able cookie that is on the crunchy side.
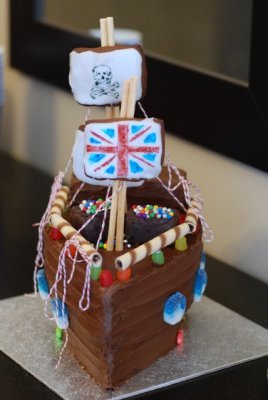
I used a basic icing sugar & water icing on the flags and waited for it to dry.
Linda came and helped draw the skull, and we tied the flags to bread sticks.
Then we stuck the bread sticks into the cake, and Linda meticulously “tied” the strings to the wafers. Her hands are steadier than mine because she’s a dentist.
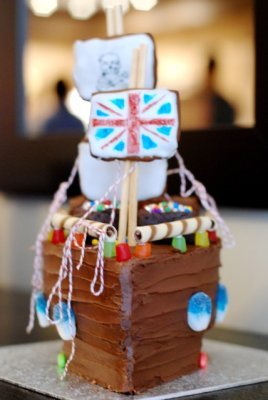
Here’s another look at the finished product. I love this picture.
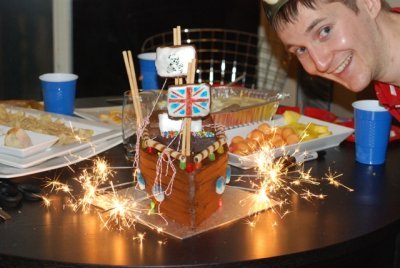
Alex suggested using sparklers for the cannons – it was a really cool effect!
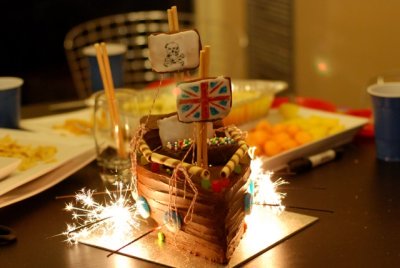
Another one of my favourite pictures of the cake. Except it’s almost done sparkling and I had just realized I had all that food in the background.
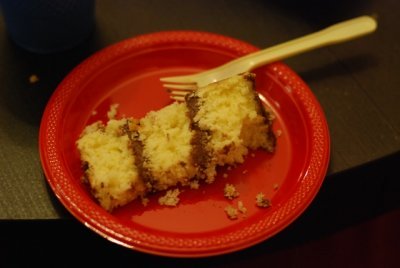
Cake when sliced – yum!
I love this pirate ship cake!! Next fancy cake coming up – my birthday cake!!


That is an awesome cake. Kitschy but also elegant! And I actually don’t think that I am the recipe-giver, since mine has vanilla in it. How many drunken, recipe-hoarding people do you know??
Amazing cake and will be perfect for my son’s birthday party, although I’ll have to use an egg-free recipe – hopefully the cake will cut into shapes just as well. Thanks so much for the instructions!